Want to know how to format a computer hard drive?
Need to learn how to format your computer? Formatting a drive prepares the surface of the disk to store new data. Computers are often formatted before they are sold, donated, or returned to employers. Likewise, computers with viruses or errors can be formatted and returned to their "out of the box" settings.
How to Format Computer Quick Links:
How to Format Computer Quick Links:
Are you confused of what version of windows you have? Click below to compare with yours.
Image Will Enlarge
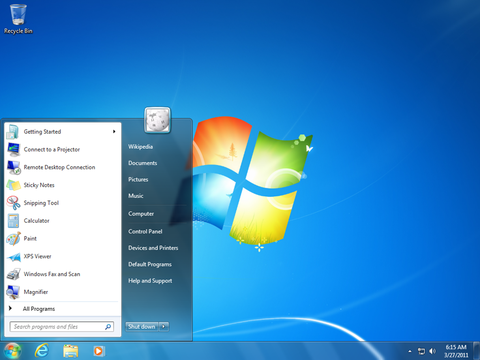
How to Format a Computer with Windows 7
Warning - Formatting hard drive information does not permanently erase the data. Even after a computer has been formatted, deleted files can be easily recovered. If you want to permanently wipe your hard drive by completely overwritting hard drive data, check out
WipeDrive.
To format your hard disk during Windows 7 installation, you'll need to start, or boot, your computer using the Windows 7 installation disc or USB flash drive.
Turn on your computer so that Windows starts normally, insert the Windows 7 installation disc or USB flash drive, and then shut down your computer.
Restart your computer.
Press any key when prompted, and then follow the instructions that appear.
On the Install Windows page, enter your language and other preferences, and then click Next.
If the Install Windows page doesn't appear, and you're not asked to press any key, you might need to change some system settings. To learn how to do this, see Start your computer from a Windows 7 installation disc or USB flash drive.
On the Please read the license terms page, if you accept the license terms, click I accept the license terms, and then click Next.
On the Which type of installation do you want? page, click Custom.
On the Where do you want to install Windows? page, click Drive options (advanced).
Click the partition that you want to format and click Format.
If you have more than one partition on this hard drive and want to get rid them to make one big drive again, then select a partition and click on the Delete option for each partition. Once you have deleted all of the partitions, select the Unallocated Space partition and click Format.
Pick the formatting option that you want.
When you've finished formatting, click Next.
Follow the instructions to finish installing Windows 7, which include naming your computer and setting up an initial user account.
If you do not want to reinstall Windows 7, you can cancel the installation at this point and keep your newly formatted drives.
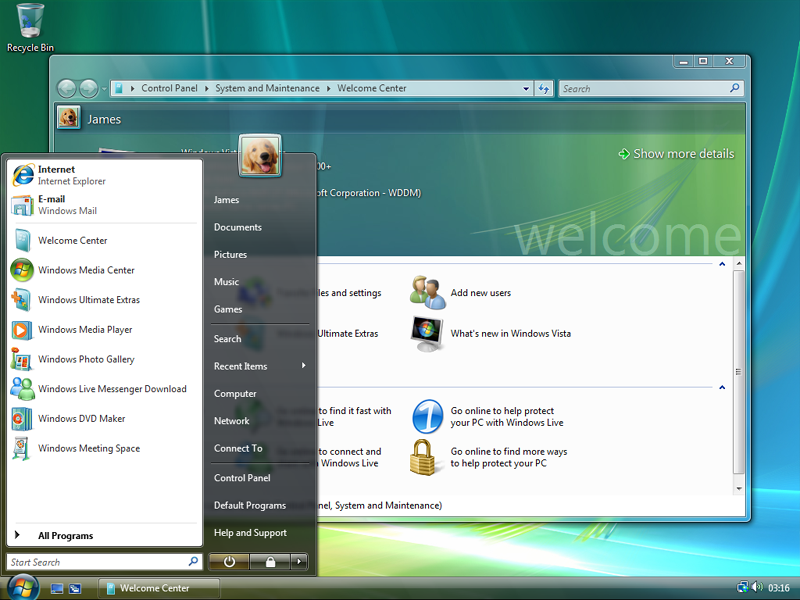
How to Format a Computer with Windows Vista
Warning - Formatting hard drive information does not permanently erase the data. Even after a computer has been formatted, deleted files can be easily recovered. If you want to permanently wipe your hard drive by completely overwritting hard drive data, check out
WipeDrive.
To format your hard disk during Windows Vista installation, you'll need to start, or boot, your computer using the Windows Vista installation disc or USB flash drive.
Turn on your computer so that Windows starts normally, insert the Windows Vista installation disc, and then shut down your computer.
Restart your computer.
Press any key when prompted, and then follow the instructions that appear.
On the Install Windows page, follow any instructions that are displayed, and then click Install now.
If the
Install Windows page doesn't appear, and you're not asked to press any key, you might need to change some system settings. To learn how to do this, see
Start Windows from a CD or DVD.
On the Get important updates for installation page, we recommend getting the latest updates to help ensure a successful installation and to help protect your computer against security threats. You will need an Internet connection to get installation updates.
On the Type your product key for activation page, do one of the following:
If you are reinstalling Windows Vista, you should enter your product key now.
If you are not reinstalling Windows Vista, you can skip this step.
On the Please read the license terms page, if you accept the license terms, click I accept the license terms.
On the Which type of installation do you want? page, click Custom.
On the Where do you want to install Windows? page, click Drive options (advanced).
Click the partition that you want to format and click Format
If you have more than one partition on this hard drive and want to get rid them to make one big drive again, then select a partition and click on the Delete option for each partition. Once you have deleted all of the partitions, select the Unallocated Space partition and click Format
Pick the formatting option that you want.
When you've finished formatting, click Next.
Follow the instructions to finish installing Windows Vista, which include naming your computer and setting up an initial user account.
If you do not want to reinstall Windows Vista, you can cancel the installation at this point and keep your newly formatted drives.
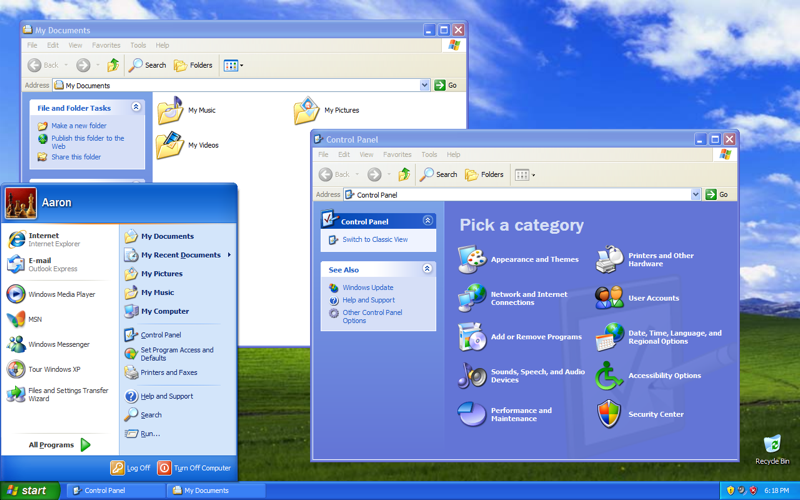
How to Format a Computer with Windows XP
Warning - Formatting hard drive information does not permanently erase the data. Even after a computer has been formatted, deleted files can be easily recovered. If you want to permanently wipe your hard drive by completely overwritting hard drive data, check out
WipeDrive.
The first step in learning how to format a computer with Windows XP or 2000, is to insert Windows CD and restart your computer.
Your computer should automatically boot from the CD to the Windows Setup Menu.
At the Welcome to Setup page, press ENTER.
Press F8 to accept the Windows XP Licensing Agreement.
If an existing Windows XP installation is detected, you are prompted to repair it. To bypass the repair, press ESC.
Use the ARROW keys to select the partition or the unpartitioned space where you want to create a new partition. Press D to delete an existing partition, or press C to create a new partition.
Type the size in megabytes (MB) that you want to use for the new partition, and then press ENTER, or just press ENTER to create the partition with the maximum size.
Select the format option that you want to use for the partition (Recommended: NTFS), and then press ENTER.
After the Windows Setup program formats the partition, follow the instructions that appear on the screen to continue installing Windows.
How to Format with Windows 95, 98, or ME
Warning - Formatting hard drive information does not permanently erase the data. Even after a computer has been formatted, deleted files can be easily recovered. If you want to permanently wipe your hard drive by completely overwritting hard drive data, check out
WipeDrive.
To reinstall Windows, you need a Startup Diskette and a Windows Installation CD.
Download the Startup Diskette Creator
Note: We recommend using the Startup Diskette available on this page. Other Windows Startup Diskettes may not work with the following steps.
Insert the Startup Diskette into the floppy drive and restart your computer.
Select option #1 - Start the computer with CD-ROM support.
After a minute or so, you will see "A:>_".
Type "fdisk" and press Enter.
If asked to enable large disk support, select Y for Yes. (Note: Some versions of Windows 95 may not be compatible with large disk support. Select N here if it does not support the FAT32 file system.)
Select Option #1 - Create DOS partition or Logical DOS Drive.
Select Option #1 - Create Primary DOS Partition.
The drive integrity will be verified.
Unless you are planning to make multiple partitions, select Y when asked if you want to use the maximum available size for the partition and to make the partition active.
The drive integrity will be verified again.
When completed press the Esc key to exit fdisk.
Without removing the floppy disk, press the reset button on the computer or press the keys Ctrl then Alt then Delete and release them together. This will restart the computer.
Again, select the option to Start the computer with CD-ROM support.
When you see A:>, directly above it is a message about your CD-ROM drive. It will tell you the letter assigned to your CD-ROM drive, take note of it.
At the A:>, type "format C:" and press Enter.
Press the Y key then the enter key when asked if you want to proceed with the format.
The format will probably take some time, so be patient.
You will be asked to choose a Volume Label, which is a name for your hard drive. It has no effect on the operation of your computer, you may choose any name you like.
Reinstalling older versions of Windows
How to Reinstall Windows XP
To reinstall Windows XP or 2000, imply insert Windows CD and restart your computer.
If your hard drive has not been formatted, Windows XP will walk you through the formatting process
described above
Your computer will automatically boot from the CD and begin the installation process
How to Reinstall Windows 95, 98, or ME
After formatting your hard drive as described above, insert the Startup Diskette into the floppy drive and restart your computer.
Select option #1 - Start the computer with CD-ROM support.
After a minute or so, you will see "A:>_".
Place the Windows Install CD into the CD-ROM drive.
Type "E:" (where E is the letter assigned to the CD-ROM drive) and press Enter key.
Type "dir" and press Enter. You will see something like the following:
Volume in drive E is 020409_1121 Directory of E: WIN98_SE <DIR> 04-09-02 11:21a 0 file(s)0 bytes 1 dir(s)0 bytes free
WIN98_SE is a directory, as indicated by the "<DIR>" after it.
Type "cd WIN98_SE", replacing WIN98_SE with the result from above, then press the Enter key.
Type "dir" and press the Enter key.
If you see: SETUP <DIR> somewhere in the output, then type "cd SETUP" and press the Enter key. Otherwise, skip this step.
Type "SETUP" and press the Enter key to begin the Windows setup program.
Simply follow the prompts to install Windows.
Remove the Windows Startup Diskette when prompted.
WipeDrive: Wipe All Data Before Formatting
Deleted files can be recovered even after a computer has been formatted!
A recent study of 129 old hard drives (many of them formatted) revealed more than 5,000 credit card numbers, medical correspondences, love letters, pornography, bank account information, and other confidential data. To protect yourself from identity theft, erase ALL data before formatting a hard drive.
Do you need to know:
How to format a computer before selling or donating a system.
How to format a computer to erase personal data before returning it to an employer.
How to format a computer with an operating system damaged by viruses or spyware.
How to format a computer in compliance with government regulations (including HIPAA).
Learn how to format a computer to US Department of Defense specifications. WipeDrive is one of only five DoD approved products that knows how to format a computer using the DoD 5220.22-M standard for disk sanitation. This standard involves far more than an ordinary drive format and includes multiple overwrites with random characters.
How to Format a Computer Securely With WipeDrive
WipeDrive is an easy-to-use disk sanitizing tool that boots from a CD or floppy disk.
Learning how to format a computer is as easy as inserting the WipeDrive disk and restarting your system.
WipeDrive will automatically load with prompts indicating how to format computer hard drive data to Department of Defense specifications.